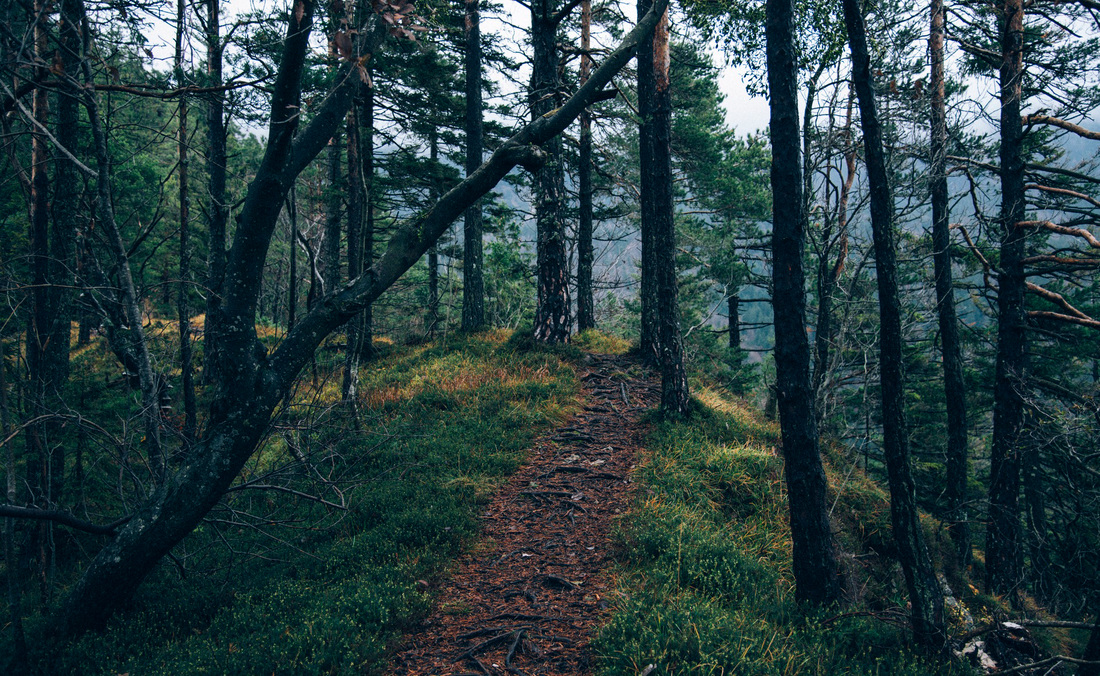
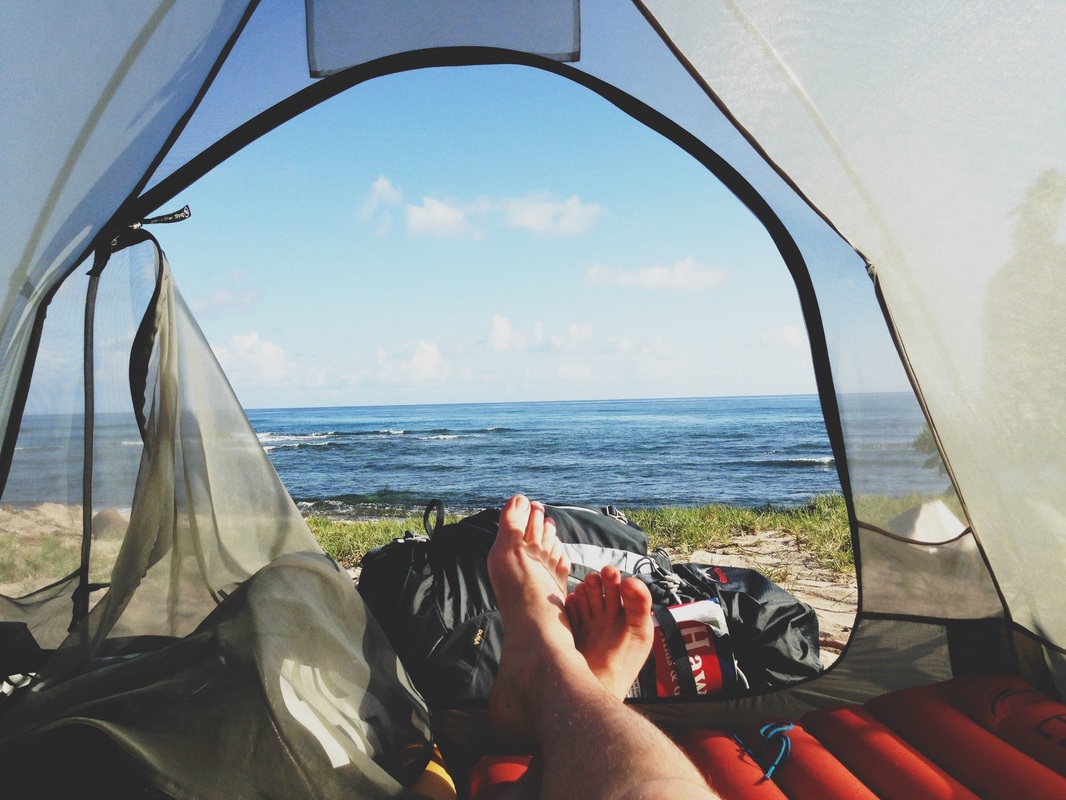
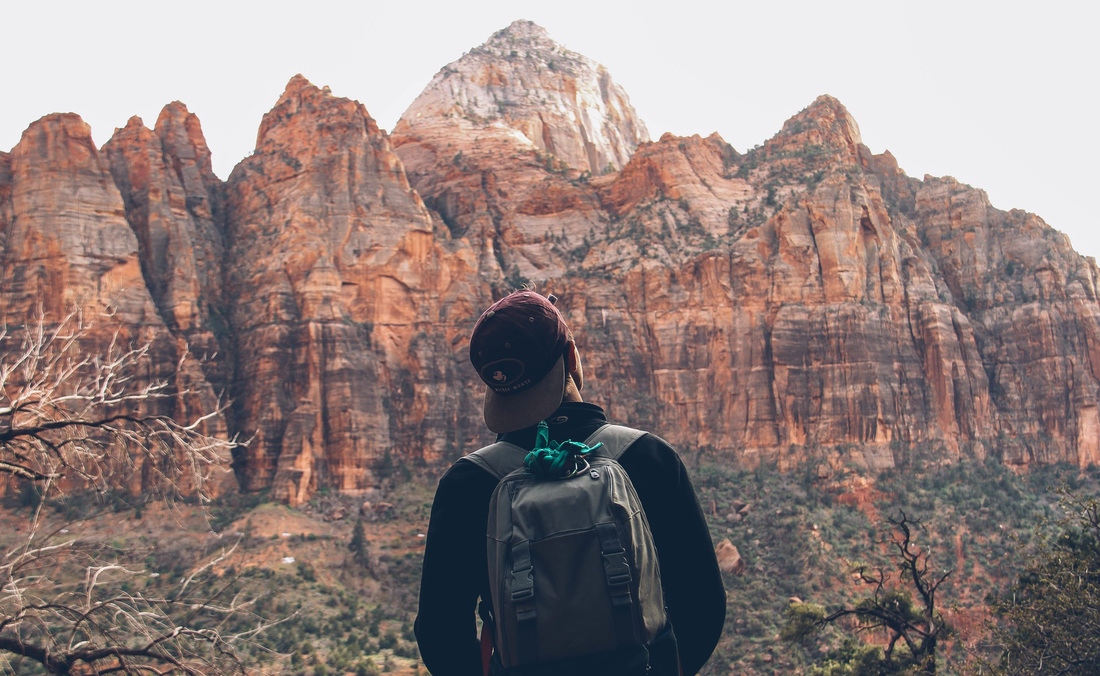
I'm James. This is my year of travel.
|
atn file from your downloads, and hit Open. In the menu on the top right of the dialog, select Load Actions and Photoshop will open your Finder/Explorer. To install it, go to Windows > Actions to open the Actions dialog box. It’s included in the download above along with the sample image. 
PHLEARN is giving away a Photoshop action built to add cinematic color to your photos in less time. If you want to go more in-depth and have access to hundreds of hours of tutorials, check out PHLEARN PRO for access to over 120 professional tutorials! Color Grade Your Photos Automatically with a Free Action Double-Click on the Background in Photoshop.You can either click on File and go down to Open…, select your file, and click on the Open button in the bottom right corner of the window or you can drag and drop the image into your Photoshop workspace. Step-by-Step Download the Sample Image and Photoshop Action Download Open Image in Photoshopįirst I need to bring my image into Photoshop. We recommend sticking with a cool color (blue, purple, green) because its complementary warm color (red, orange, yellow) in the highlights will keep your skin tones looking natural. Best of all, it will do this using any color you choose in your Fill Layer dialog. This little-known blend mode makes split toning simple: it puts the color in your Fill Layer into the shadows of your image, and automatically puts its complementary color into the highlights. Now, simply change the layer blend mode of the Color Fill Layer from Normal down to Exclusion. You can choose any color at this point, as we will be able change it later here we select a bright, saturated blue. To do this, we first create a Color Fill Layer (by going to FX and over to Solid Color). A cinematic look consists of just that a color in the highlights and its complement in the shadows. We can put a layer of color above our image, and use a special blending mode to instantly apply a split tone color effect. The key to this technique is in the blending modes. Not only that, we’ve also included a free Photoshop Action that you can use to split tone your images automatically. In this tutorial, we’ll show you an incredibly easy method to give your photos a striking cinematic look. Photographers and visual artists all around the world apply the color grading to their photos to achieve the same high-production value effect. For now, just get the color of the shadows to the color you like.The popular cinematic look is no longer a style only reserved for the movies. The balance between the two colors may not be what you desire, but don't worry about that now because we'll work on it in the next step. You should see a live preview of the effect if you have the preview checkbox checked. Now we'll do the same thing to set the color of the the shadows. Once you're done, the image should look tinted. Adjust the settings to achieve the color you want. Checkmark Colorize near the bottom right of the Hue/Saturation window. A Hue/Saturation window will appear where you can adjust the color. First, start by double clicking on the Hue/Saturation icon of the Highlights layer in the layers palette. Now that we have all our layers properly set up, we can specify the colors for the highlights and shadows of the image. You should now see a copy of the image in the highlights layer mask. In the Apply Image tool, simply click OK to use the default settings. 
With the layer mask selected, choose Image> Apply Image. It should now have a white border around it to indicate that the layer mask is selected. Step 4: Apply a copy of the image into the highlights layer maskīefore we start, click on the layer mask thumbnail in the Layers palette to select it. In the next step, we'll add data to the layer mask so that the highlights layer only affects the highlights. With the two adjustment layers, one will let us change the color of the shadows and the other the highlights. To rename a layer, double-click on the layer name in the layers palette. Rename the top layer to Highlights and the middle layer to Shadows. You should now have two adjustment layers. Press Ctrl+J or go to Layer > Duplicate Layer. Make sure that you have the Hue/Saturation adjustment layer selected in the layers palette. 
You should now have a new Hue/Saturation layer in your layers palette. When the Hue/Saturation window appears, click OK without changing any settings. Step 2: Add a Hue/Saturation adjustment layerĬhoose Layer > New Adjustment Layer > Hue/Saturation. This photo effect will work with most versions of Photoshop. This Photoshop technique can also be used to create retro or abstract results. 
Add this slight change for a dramatic effect. Between grayscale and color is split toning.
0 Comments
Leave a Reply. |
AuthorWrite something about yourself. No need to be fancy, just an overview. ArchivesCategories |
 RSS Feed
